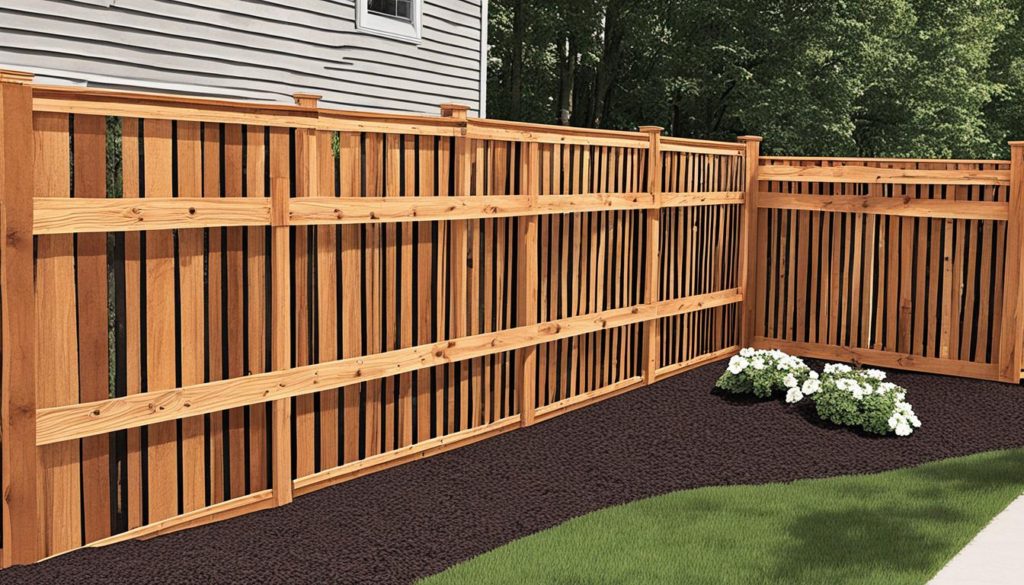
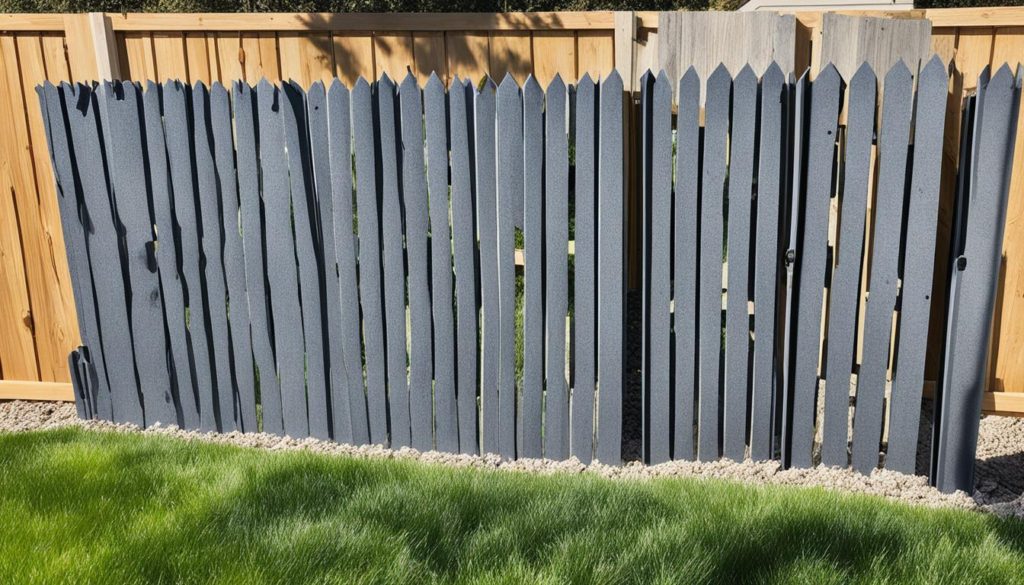
When it comes to enhancing the privacy and charm of your backyard, a dog ear fence is a popular and versatile choice. With its timeless appeal and functional design, a dog ear fence can transform your outdoor space while adding value to your property. In this guide, we will explore the different styles of dog ear fences and provide you with a step-by-step installation process to ensure a hassle-free experience.
Before diving into the installation process, let’s take a look at the various styles of dog ear fences available. Whether you prefer the complete privacy of a board-on-board fence, the unique look of a shadowbox fence, or the classic charm of a traditional fence, there is a style to suit every taste and requirement.
Key Takeaways:
- A dog ear fence is a popular choice for enhancing privacy and adding charm to your backyard.
- There are different styles of dog ear fences, including board-on-board, shadowbox, and traditional.
- Before installation, gather all the necessary tools and materials, and check local regulations and permits.
- Proper spacing and leveling are crucial for a professional-looking fence.
- Applying a protective finish will prolong the lifespan and maintain the appearance of a dog ear fence.
Dog Ear Fence Styles
When it comes to dog ear fences, there are three main styles to choose from: board on board, shadowbox, and traditional. Each style offers its own unique features and benefits, allowing you to find the perfect fit for your needs. Let’s explore these styles in more detail:
1. Board on Board Fence
The board on board style is known for its exceptional privacy. The pickets are placed side by side, with each picket overlapping the one next to it. This creates a solid barrier that effectively blocks the view from both sides of the fence. If privacy is a top priority for you, the board on board fence is an excellent choice.
2. Shadowbox Fence
The shadowbox style fence is designed to provide a similar aesthetic appeal on both sides. This is achieved by placing the pickets on alternating sides of the fence rails, creating a visually pleasing pattern. Shadowbox fences are particularly popular for shared property lines, as both neighbors can enjoy the attractive appearance of the fence. While they do offer some privacy, the spacing between the pickets allows for airflow and light to pass through.
3. Traditional Fence
The traditional dog ear fence is characterized by evenly spaced pickets with a small gap between each one. This style strikes a balance between privacy and airflow. While it may not offer the same level of privacy as a board on board fence, it still creates a defined boundary and adds a charming touch to your outdoor space. The traditional design allows for better airflow, making it a good option for areas that experience strong winds or require better ventilation.
Now that you know the different styles of dog ear fences available, you can choose the one that best suits your preferences and needs. Whether you prioritize privacy, shared aesthetics, or a combination of both, there’s a dog ear fence style that’s perfect for you.
- “Board on Board Fence” – The Home Depot – Types of Wood Fence Styles
- “Shadowbox Fence” – The Family Handyman – What Is a Shadow Box Fence?
- “Traditional Fence” – BuildDirect – 19 Types of Fence Styles in Your Backyard
Installation Process
Before installing a dog ear fence, it is important to gather all the necessary tools and materials. These may include:
- An air compressor
- A staple gun
- A tape measure
- A saw
- A post hole digger
- A level
- Quick set concrete
- Gravel
- Work gloves
- Stakes
- And more
It is also crucial to check local regulations and obtain any necessary permits before beginning the installation process. This will ensure compliance with any specific rules or guidelines. Additionally, reviewing your property’s boundaries is essential to avoid any encroachments or disputes with neighbors.
When planning the layout of the fence, take into consideration factors such as the terrain, the desired height of the fence, and any obstructions such as trees or structures. It is important to accurately mark the post holes to ensure the fence is properly aligned and secured.
Throughout the installation process, always prioritize safety. Wear appropriate protective gear, such as work gloves and safety goggles, when handling tools or working with materials. Additionally, follow proper lifting techniques and exercise caution when using power tools.
By carefully preparing for the installation and following the outlined steps, you can achieve a successful dog ear fence installation.

In the next section, we will discuss the process of putting up the fence and the various steps involved in attaching the pickets, connecting backer rails, installing gates, and finishing the overall fence.
Putting Up the Fence
Now that the posts are set and the holes are dug, it’s time to put up your dog ear fence. This crucial step involves installing the fence panels or pickets, connecting the backer rails, and adding the finishing touches to ensure a sturdy and visually appealing structure.
Installing Dog Ear Fence Panels
Attaching the fence panels to the posts is a fundamental part of the installation process. Use nails or screws to secure the panels firmly in place, ensuring they are level and properly aligned. This will create a strong foundation for your fence and maintain its structural integrity over time.
Attaching Pickets
After installing the fence panels, it’s time to attach the pickets. These are the vertical boards that provide the aesthetic appeal of a dog ear fence. Ensure proper spacing between the pickets to achieve a uniform look while allowing for adequate airflow.
Connecting Backer Rails
The backer rails are horizontal beams that run along the top and bottom of the fence panels, providing additional stability and support. Use screws or nails to secure the backer rails to the posts, ensuring they are level and aligned with the pickets for a professional finish.
Gate Installation
If your dog ear fence includes a gate, proper installation is essential. Consider the swing direction and clearance required for the gate to function smoothly. Ensure the gate is properly aligned with the fence, allowing easy access without compromising security.
Fence Finishing
Protecting your dog ear fence from the elements is crucial for its longevity. Consider applying a protective finish, such as stain or paint, to prevent moisture damage, UV fading, and wood rot. Routine maintenance, including cleaning and reapplication of the protective coat, will help preserve the fence’s appearance and extend its lifespan.
By following these steps, you can successfully put up your dog ear fence and enjoy the privacy and charm it brings to your outdoor space. The installation process requires attention to detail and precision to ensure a durable and visually appealing fence that will enhance your property for years to come.
| Step | Description |
|---|---|
| 1 | Attach fence panels to the posts using nails or screws |
| 2 | Properly space and attach the pickets |
| 3 | Connect backer rails to provide additional stability |
| 4 | Install the gate, considering swing direction and clearance |
| 5 | Apply a protective finish to prolong the fence’s lifespan |
Conclusion
Installing a dog ear fence in your backyard can provide the perfect blend of privacy, charm, and value to your property. By selecting from the different styles available and following the proper installation process, you can create a beautiful and functional fence that will stand the test of time.
Before you begin, it’s essential to check local regulations and obtain any necessary permits for your dog ear fence installation. This ensures that your project complies with the guidelines and avoids any legal issues down the line.
As you embark on the installation process, remember to use the right tools and materials for the job. This includes an air compressor, staple gun, tape measure, saw, post hole digger, level, quick set concrete, gravel, work gloves, stakes, and more. Having these items on hand will make the installation process smoother and more efficient.
With careful planning, attention to detail, and proper execution, your dog ear fence installation will be a success. Not only will it offer enhanced privacy and a charming aesthetic to your backyard, but it will also increase the value of your property. So, get ready to enjoy your newly fenced oasis for years to come!
FAQ
What are the different styles of dog ear fences?
The different styles of dog ear fences include board on board, shadowbox, and traditional.
What is a board on board fence?
A board on board fence offers complete privacy, with the pickets overlapping each other to create a solid barrier.
What is a shadowbox fence?
A shadowbox fence provides a similar look on both sides, making it ideal for shared property lines.
What is a traditional fence?
A traditional fence has pickets spaced evenly with a small gap between each one, allowing for airflow while still maintaining some privacy.
What tools and materials do I need to install a dog ear fence?
You may need tools such as an air compressor, staple gun, tape measure, saw, post hole digger, level, quick set concrete, gravel, work gloves, stakes, and more.
Are there any regulations or permits I need to consider before installing a dog ear fence?
Yes, it is crucial to check local regulations and obtain any necessary permits before beginning the installation process.
How do I properly install a dog ear fence?
After planning the layout and marking the post holes, you can attach the fence panels or pickets to the posts using nails or screws. Ensuring proper spacing and level installation is important. Gate installation and finishing the fence are also essential steps in the process.
How can installing a dog ear fence enhance my backyard?
Installing a dog ear fence can enhance the privacy and charm of your backyard while adding value to your property.
How long will a dog ear fence last?
The lifespan of a dog ear fence depends on various factors such as maintenance, weather conditions, and the quality of materials used. However, applying a protective finish can help prolong its lifespan.
